Caramel. Coconut. Macarons.
Three amazing things that should always go together.
When I first started Sunshine & Storms, I was in a bit of a macaron obsessed phase. The summer before, I had visited France and tried my first authentic French macaron. Instantly, I fell head over heels in love with the little cookies. Upon my return, I read countless articles, blogs, and books on the art of baking French macarons. I spent many hours baking batch after batch and I experienced a lot of failures. It was always discouraging to take a pan of macarons out of the oven and find them lumpy, footless, and misshapen.
There are a ton of recipes out there on how to make macarons, and I'm not saying mine is the right way, but I will say that it works for me! And that is why I wanted to share with you all one variation of my go-to macaron recipe. It's a little long, but stick with me because the results are fabulous (cue Sharpay's song from High School Musical 2)!
Salted Caramel Coconut Macarons

1. Get yo' stuff.
- 5/8 cup almond flour
- 3/8 cup confectioners sugar
- a minuscule pinch of sea salt (not pictured... whoops?)
- 3/8 cup granulated sugar
- 1/4 cup egg whites (about 2 eggs)
- 1/4 teaspoon cream of tartar
- Optional: 1/4 to 1/2 teaspoon of coconut extract (or any extract you desire)
- Optional: a smidgeon of gel food coloring (NOT liquid!)
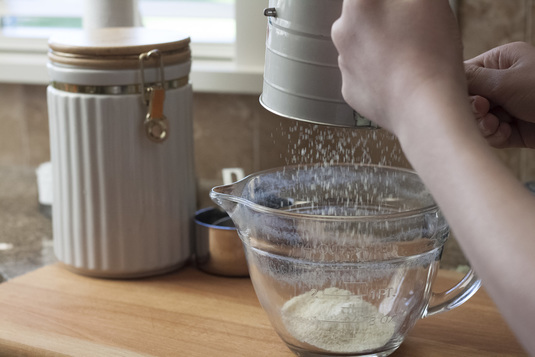
2. Sift it, sift it. Sift it real good.
- Carefully sift the almond flour, confectioner's sugar, and sea salt together in a medium sized bowl.
- You might want to sift the mixture together a couple times for ultimate smoothness.
- Remove any lumps left in the strainer.
- It's important to get this dry ingredient mix as smooth and fine as possible. If your flour/sugar/salt mixture is lumpy, your macarons will be ugly and cracked and you will be sad.
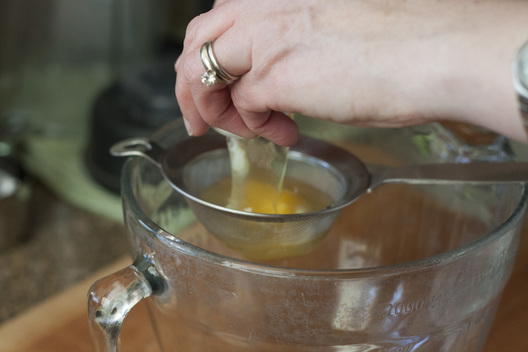
3. Start the meringue.
- Separate your egg whites from your egg yolks.
- Note: it's better if you leave your egg whites out in a bowl until they reach room temperature so they're aged. Trust me- I'm a doctor.
- Once your eggs whites are aged, dump them in a large bowl and add the cream of tartar.
- Now that you have two ingredients in your bowl, use a mixer to combine the two until they're nice and frothy.
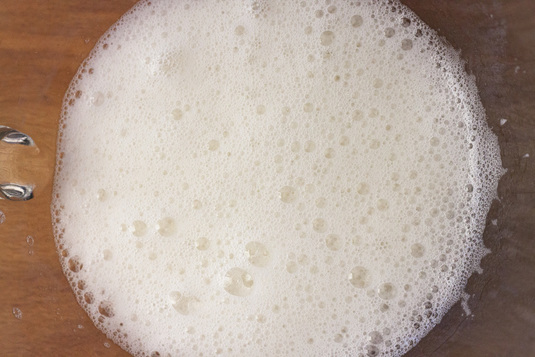
- Once your bowl looks like a mini hot tub, you're ready for the next step of the meringue.
- Add 1/8 cup of your granulated sugar into your bowl and mix on high until it starts to look a little fluffier.
- Next, add the next 1/8 cup of granulated sugar and mix until fluffy.
- Do you see a trend here?
- Add the final 1/8 cup of granulated sugar and mix until stiff peaks form in the meringue.
- You should be able to do this when it's done....
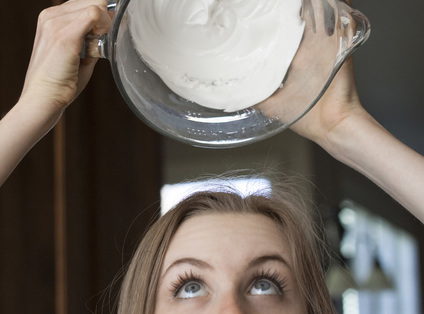
4. Savor the flavor.
5. Time for the trickiest part... the macaronage.
- At this point, mix your coconut extract into your meringue with your handy-dandy hand mixer.
- PS- I used coconut extract, but some of my other favorites to add include almond, lemon, and vanilla. Any will do, so just experiment with the flavorings of your macaron shells!
- You don't want too much liquid in your meringue or it will result in some ugly macarons and you will be sad.
5. Time for the trickiest part... the macaronage.
- For you macaron newbies, the "macaronage" is the incorporating of the dry ingredients in with the meringue. It. Is. Tricky.
- Sift your almond flour/salt/confectioners sugar mix into your meringue bowl (yes, just one more sift!).
- Now use a rubber spatula to carefully fold the dry ingredients into your meringue using a "j" shaped stir.
- Does that even make sense?
- You will ultimately want a batter that looks like molten lava. I truly have no better way to describe it.
- Usually, it takes about 30ish folds to get a good texture, but I've had it need less and I've had it need more.
- Basically, I am no help at all. #sorrynotsorry
- Anyways, it should look something like this when you're done... (actually, looking at this picture, I'm realizing it's probably about 5 stirs away from perfection. oops.)
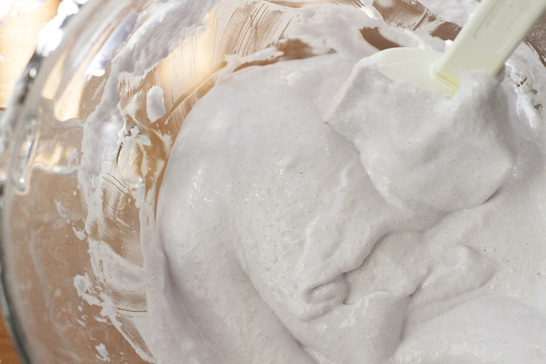
- Note: few to no lumps in the batter. YOU SHOULD NOT BE ABLE TO SEE ANY ALMOND FLOUR CLUNKS IN YOUR BATTER.
- At this point you can use a little bit of gel food coloring to fancy up your macarons (I used a little bit of purple to make lavender because lavender is springy and it felt like spring outside).
6. Pipe it out.
- Get a piece of parchment paper out a place it on a flat baking sheet.
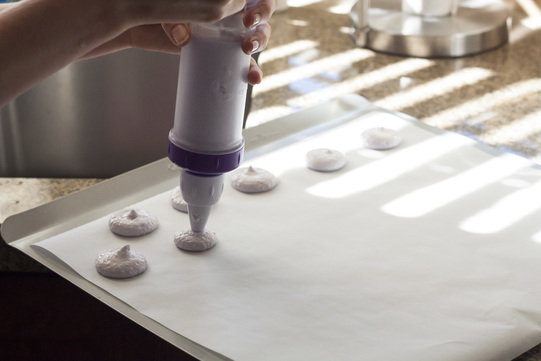
- You can either scoop your well-mixed batter into a piping bag or you can use the Allison-approved-secret-weapon-of-choice. And what is that, you may ask? The Wilton Dessert Decorator with the circle tip.
- Now, pipe little 1.5" circles onto the parchment paper or if you have my Allison-approved-secret-weapon-of-choice, you just push down for about 4 seconds and BOOM. Perfect circle.
- Some people use templates for perfect circles. Templates are for wimps. The decorating gun is for champions.
- Once you have a tray full of perfectly piped macarons, you get to slam the trays on the counter. Okay, it's more of a tap-tap, but whatevs.
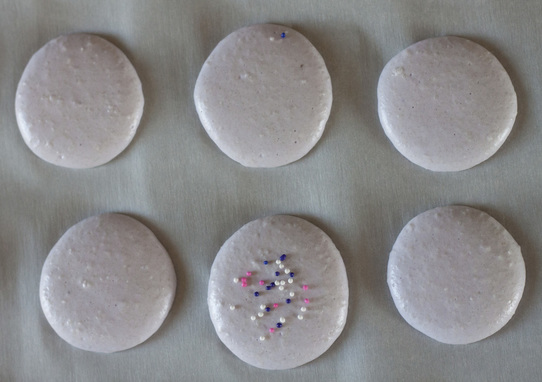
- Take your tray and carefully tap it on the counter. This gets rid of air bubbles in the batter that could cause cracking and tears and it also settles down those little Hershey kiss bumps (you can see these in the picture above) that cause ugliness and frowns.
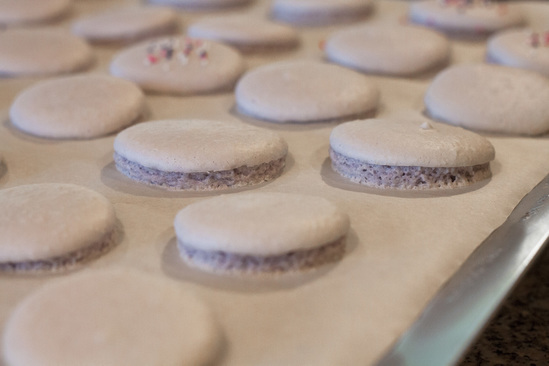
7. Wait for the skins.
- Another macaron term for y'all today. Skin: the smooth top surface of a macaron.
- Leave your tray of macarons to sit for 15 minutes to an hour, or until skins have formed.
- You can test this by gently skimming a finger over the top of the macaron. If your finger sticks, there is no skin. If your finger glides right over the cookie, then you're set.
- If you want a little more pizzaz, feel free to sprinkle something tiny on top of your rounds. I love decorating with flaked coconut (which in hindsight, I should have done for these cuties), sprinkles, cocoa powder, or a tiny bit of lemon zest.
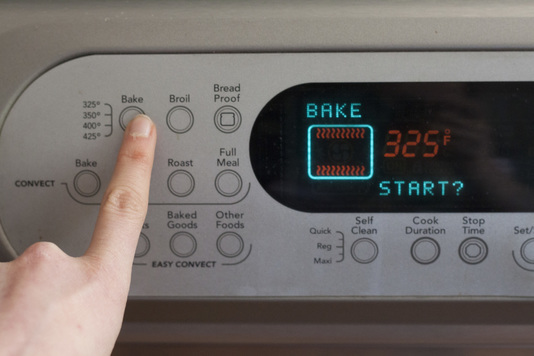
8. It's getting hot in heeeeeeerrrrreeee.
- aka it's baking time.
- Preheat your oven to 325 degrees.
- Once heated up, pop your baking sheet into the oven for 10 minutes.
- My favorite part of the process is to sit at the oven with the light turned on so I can watch my macarons go from flat discs to perfectly footed macaron shells.
- Next macaron vocab word (I might test you on these later so you'd better be paying attention)! Foot: the ruffled ridge of a macaron shell that is a result from air/liquid in the batter being pushed out through the bottom.
- At the ten minute mark, pop your oven open, rotate your pan 180 degrees, and leave your babies to another 7 minutes in the hot oven.
- Once your macarons have been in the oven for a grand total of 17 minutes (10+7=17... of course you knew that already, right?), take the tray out and leave them to cool completely before trying to pry them off of the parchment paper. Otherwise, your cute little French cookies will stick and pull off messily and make you cry.
9. Match and frost.
- Peel your macarons from the parchment paper once they're cooled down.
- Matchmaker, matchmaker, make me a macaron match! Choose shells that look similar in size and shape to each other, pair them off, and set them aside.
- Make or locate a filling of your choice (Nutella, jam, buttercream, ganache, caramel... all good options).
- For this batch, I made a caramel buttercream of sorts by using a recipe I found on Pinterest and adding confectioners sugar, sea salt, and shredded coconut. It was actually quite easy. I simply whipped up a caramel sauce, added butter, chilled it in the fridge, and fluffed it up with a hand mixer. BOOM. (if you want the recipe for the filling I used, refer to the link here and simply add 3 tablespoons of powdered sugar and 2 tablespoons of coconut flakes)
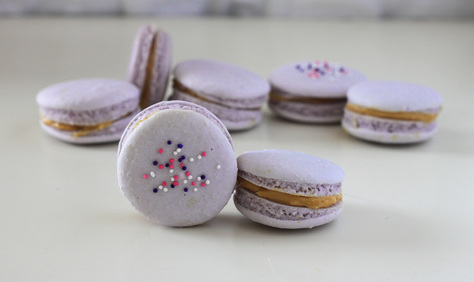
- Now, take your pairs and frost one cookie with whatever type of filling you desired.
- Sandwich the two rounds together.
- Voila! A macaron is born.
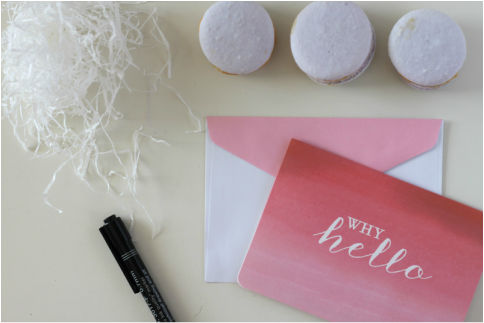
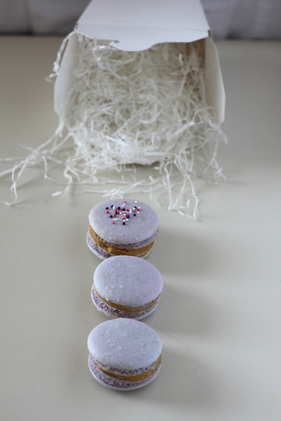
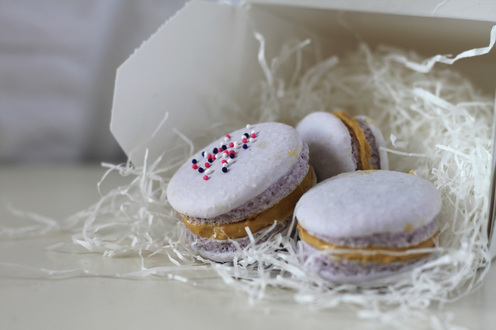
Now that you have these adorable little French macarons, the only logical thing to do with them is to package them up all cute-like with an accompanying note and give them to your friends and family. I hoard baker's boxes and Chinese takeout boxes just for this purpose.
All you have to do is stick a little bit of filler in the bottom of a takeout box, stack a couple of macarons in it, tie up the box with cute twine, slap a decorative label on the top, and you're good for business.
All you have to do is stick a little bit of filler in the bottom of a takeout box, stack a couple of macarons in it, tie up the box with cute twine, slap a decorative label on the top, and you're good for business.
If I, the girl who can hardly use a can opener or microwave soup, can figure out how to make macarons, you can too. Yes, macarons are very temperamental and tricky cookies to perfect, but one little bite into these tasty French cookies and it will be all worth it.
Best of luck to anyone who tries my recipe! Let me know how they turn out and have a fabulous week!
Best of luck to anyone who tries my recipe! Let me know how they turn out and have a fabulous week!


 RSS Feed
